In this short guide, I will take you through the process to install AIOSEO plugin on your WordPress website. Installing AIOSEO is very easy and does not take long at all.
How To Install AIOSEO Plugin
Step 1: Open Your WordPress Dashboard
Log into your WordPress back office.
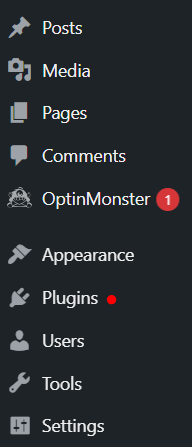
Step 2: Click On Plugins
Click on the “Plugins” tab, which is located in the left sidebar underneath the “Appearance” tab
This will take you to your plugin library.
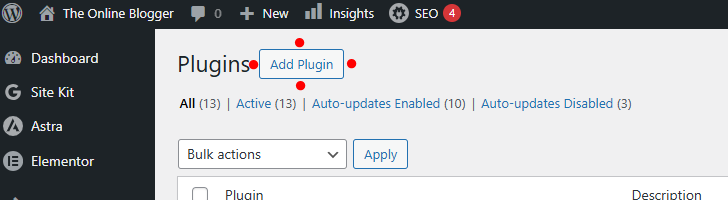
Step 3: Click on “Add Plugin”
At the very top of the plugins page, you will see a button labeled “Add Plugin.” Click it, and you will be taken to the plugins library.
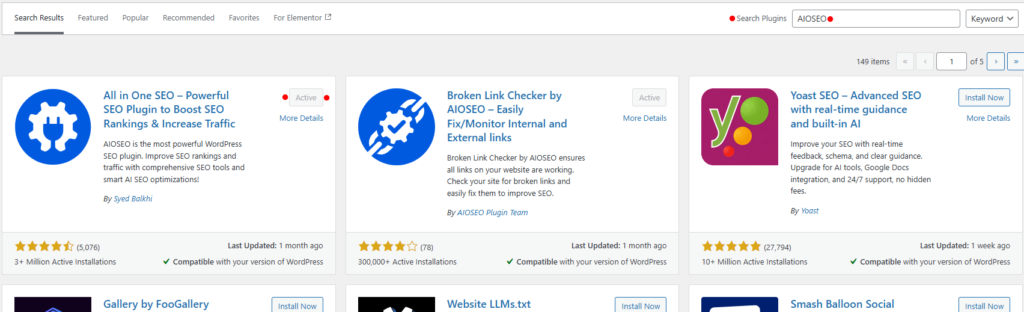
Step 4: Search for the AIOSEO plugin
On the right side of the screen, you will see a search box… Type “AIOSEO” into the search box, and the results will show automatically.
The one we are after should load first. The icon with the plug in a cog, titled “All In One SEO”
Step 5: Install and Activate AIOSEO Plugin
Click the “Install Now” button, and then that same button will change and say “Activate.” Click it and activate the plugin.
Step 6: Follow The AIOSEO Setup Wizard
After you click “Activate” you will be taken through a series of small tasks like adding a title to your website and writing your website’s meta description. Once you have gone through these steps, you have successfully installed AIOSEO plugin.
The AIOSEO Plugin Will Be Installed and Working
Now that you have the AIOSEO plugin installed, activated, and set up, you can now go back through your blogs and website pages to make sure the SEO score for these is high.
Thanks for reading this tutorial and if you have any questions or need a hand with the install, please do leave a comment below 🙂
Happy blogging 🙂